

To convert jpg to png, upload the JPEG to a reputable converter, choose PNG as the output, and download the converted file. The change preserves the image’s visible dimensions but does not restore detail already discarded by JPEG compression. PNG is useful when you need lossless storage, transparency, crisp text, screenshots, logos, or repeated editing; JPEG is usually better for photographs where a smaller file matters. With OMNIVERT, image processing takes place locally in your browser, so everyday images can be converted without installing software or sending them to a conversion server.
Table of Contents
- What Jpg To Png conversion actually changes
- Why convert a JPEG into PNG?
- How an image converter produces a PNG
- Where JPG-to-PNG conversion breaks down
- Practical workflows for designers, photographers, and office users
What Jpg To Png conversion actually changes
JPG and JPEG are two filename extensions for the same broadly used image format. PNG is a different raster-image format designed around lossless compression and features such as alpha transparency. A conversion changes the way the existing pixels are stored; it does not turn a low-quality source into a newly detailed photograph.
That distinction matters because JPEG and PNG solve different problems. JPEG normally reduces file size by discarding some image information, especially information that is less noticeable in photographs. PNG compresses image data without discarding pixels, which makes it a better fit for graphics with hard edges, flat colors, text, and transparency. The MDN image-format overview describes JPEG as a lossy format and PNG as a lossless format, while the W3C PNG specification defines PNG’s lossless image-data representation.
What stays the same
In a straightforward conversion, the following usually remain unchanged:
- Pixel dimensions: a 2,400 × 1,600 image remains 2,400 × 1,600 unless you also resize it.
- Visible composition: cropping, rotation, and framing are not automatically improved.
- Source detail: JPEG artifacts such as ringing around text or blocky shadows remain visible in the PNG.
- Color appearance: the result may look similar, but color-profile handling can affect how different applications display it.
What can change
The file wrapper, compression method, metadata, color mode, and transparency behavior can change. A JPEG has no useful transparent background in the normal web-image sense; an image converter cannot infer which pixels should become transparent unless you remove the background or provide a mask. Saving a white-background logo as PNG does not automatically make the white area transparent.
PNG can also be larger than the original JPEG, sometimes substantially so for photographic material. That is not a conversion failure. A photograph contains texture and color variation that PNG may preserve accurately but compress less efficiently than JPEG. Conversely, a screenshot with large areas of one color may be compact as PNG because repeated patterns are easier for lossless compression to represent.
Why convert a JPEG into PNG?
The best reason is not “PNG is higher quality.” The better reason is that the destination workflow needs a PNG capability or behavior. Choose the format based on what happens after conversion: publication, editing, compositing, archiving, or upload validation.
- Transparency: use PNG after a separate background-removal step when a logo, icon, product cutout, or overlay needs an alpha channel.
- Sharp graphics: screenshots, interface mockups, diagrams, maps, and line art can avoid additional JPEG artifacts when stored as PNG.
- Repeated editing: PNG prevents another round of JPEG-style lossy encoding while you make intermediate edits.
- Platform requirements: some design, publishing, or upload workflows specifically request PNG even when the source arrives as JPG.
- Text inside an image: PNG often keeps small lettering and one-pixel edges cleaner than a newly compressed JPEG.
For a camera photograph destined for a normal web page, social post, or email attachment, conversion in the opposite direction may make more sense. PNG does not automatically improve a portrait, landscape, or event photo. It can produce a larger file while offering no visible advantage once the image is displayed at the same size.
Transparency is the most commonly misunderstood benefit
A PNG file can contain transparency, but converting a JPG does not create transparent pixels by itself. The source JPEG normally has every pixel filled with a color. To create a transparent product image, you need a process that identifies the background and removes it, such as a selection, clipping path, segmentation tool, or manually prepared mask. Only then should you export the result as a transparent PNG.
There is also a difference between binary transparency and partial transparency. A simple icon may need pixels that are either fully visible or fully transparent. A soft shadow or antialiased edge may need intermediate alpha values so it blends naturally over a new background. If your destination rejects transparency, flatten the image against the intended background before exporting rather than relying on the viewer to do it correctly.
Lossless does not mean unlimited quality
PNG’s lossless compression protects the pixels it receives. It cannot recover fine texture that was already removed when the original image was saved as JPEG. A useful mental model is:
Conversion preserves the source; it does not reconstruct the past. Convert a clean original, not a screenshot of a screenshot or a heavily recompressed download.
How an image converter produces a PNG
A browser-based converter follows a fairly understandable pipeline. It reads the selected file, decodes the JPEG into pixels, constructs a PNG representation, and then makes the resulting file available for download. The conversion may be automatic, but the decisions underneath explain why file size, metadata, and color can vary.
Decode, represent, and encode
- Read the file: the browser receives the selected local file through its file-handling APIs. The web platform’s File API documentation explains how web applications access user-selected files without needing a traditional installed desktop program.
- Decode JPEG pixels: the JPEG’s compressed data is expanded into an in-memory image representation. This is where the existing JPEG artifacts become part of the pixel data.
- Apply optional operations: resizing, rotation, orientation correction, cropping, color conversion, or background editing may occur if the tool provides those controls.
- Encode PNG: the pixel data is written into PNG chunks using lossless compression and, if supported and present, an alpha channel.
- Create a downloadable result: browser tools commonly generate a file object or blob for saving. Canvas-based applications can use a method such as HTMLCanvasElement.toBlob() to create an encoded image file.
This pipeline also explains why a browser converter can use considerable memory. The original compressed JPEG may be small on disk, but an uncompressed image needs space for its pixels while the browser decodes and re-encodes it. For an illustrative example, a 6,000 × 4,000 image has 24 million pixels; at four bytes per pixel for a basic RGBA representation, the pixel buffer alone is about 96 MB before the browser, preview, and output file use additional memory. That is a planning example, not a universal memory requirement, because implementations and color modes differ.
Metadata and orientation require attention
Many cameras store orientation instructions in metadata rather than physically rotating the pixel matrix. A converter or image editor may apply that instruction during decoding, or it may preserve the pixels and metadata separately. This can create the familiar problem where an image looks upright in one application but sideways after upload.
Metadata can also include capture time, camera model, lens information, GPS coordinates, author fields, and editing history. Whether those fields survive conversion depends on the tool and its export policy. If privacy matters, inspect the output metadata or use a workflow that deliberately strips location and device information. Do not assume that changing the extension removes metadata; the extension is only part of the file name.
Where JPG-to-PNG conversion breaks down
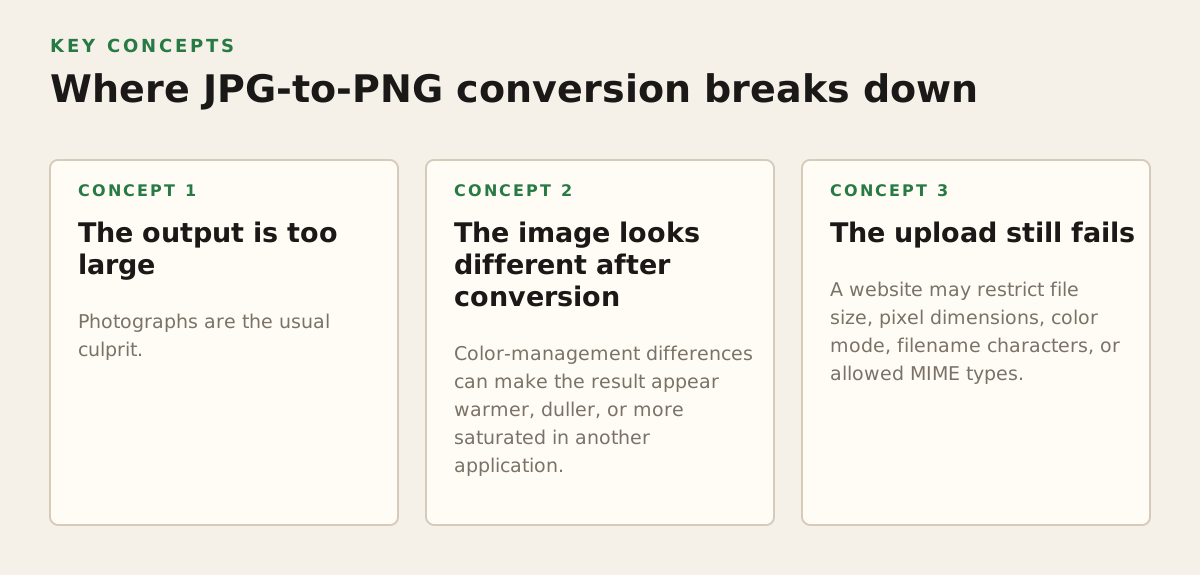
Most failures are not caused by the basic format conversion. They come from an unsuitable source, a destination with hidden requirements, browser resource limits, or an expectation that conversion should perform editing.
The output is too large
Photographs are the usual culprit. PNG preserves every decoded pixel and may be inefficient for natural scenes. If the output must load quickly on a website, ask whether PNG is genuinely required. A modern image workflow may instead use an appropriately compressed JPEG or another format supported by the target platform. Google’s official Google Images guidance emphasizes accessible, crawlable image resources and practical image presentation; it does not make PNG the default choice for every image.
If PNG is required, reduce the dimensions before conversion when the image will be displayed smaller. Do not resize a 6,000-pixel-wide source to fit a 900-pixel content slot and then blame PNG for the resulting transfer cost. Keep a full-resolution original separately, and export a delivery-sized copy for the actual use.
The image looks different after conversion
Color-management differences can make the result appear warmer, duller, or more saturated in another application. Problems may arise when a profile is removed, misread, or converted into a different color space. For a logo or brand asset, compare the exported file in the same color-managed application used by the design team and check the destination platform rather than relying only on a thumbnail preview.
Some apparent quality problems are already present in the JPEG:
- Block patterns in flat skies or walls can come from strong JPEG compression.
- Halos around lettering can come from earlier sharpening and resaving.
- Color smearing can result from chroma subsampling in the source JPEG.
- Soft edges may be caused by a small original image being enlarged, not by PNG encoding.
The upload still fails
A website may restrict file size, pixel dimensions, color mode, filename characters, or allowed MIME types. “PNG accepted” does not necessarily mean “every PNG accepted.” An indexed or grayscale PNG may be treated differently from an RGBA PNG, and a platform may reject an image that exceeds its pixel limit even when the file occupies little storage.
Use a simple diagnostic sequence:
- Open the output locally and confirm it displays correctly.
- Check the file extension and actual detected type, not just the name.
- Confirm pixel dimensions and approximate file size.
- Try a flattened RGB PNG if the destination rejects transparency.
- Rename the file with short, plain characters if the upload form is fragile.
For very large files, a local browser conversion can fail when the tab runs out of available memory or the device suspends the page. Closing other heavy tabs, resizing first, or using a desktop editor may be more reliable. A server-side converter can be useful for demanding jobs, but it changes the privacy decision because the source must be uploaded for processing.
Practical workflows for designers, photographers, and office users
The right workflow depends on the artifact, not the extension. Start by identifying the job the PNG must perform after conversion.
| Source and intended use | Recommended approach | Main caution |
|---|---|---|
| Logo on a solid background | Remove the background first, then export a transparent PNG if the destination supports it. | Conversion alone will not create transparency. |
| Screenshot with interface text | Use PNG to preserve crisp edges and flat-color regions. | Check that the dimensions are not larger than needed. |
| Camera photograph for a webpage | Keep the original; use PNG only when the publishing workflow requires it. | PNG may be much larger without visible benefit. |
| Image being edited repeatedly | Use a lossless intermediate or the editor’s native project format. | PNG preserves current pixels but not editable layers. |
| Product cutout with a soft shadow | Use an alpha-capable PNG after preparing a clean mask. | Verify how the destination composites partial transparency. |
A privacy-conscious browser workflow
For a personal document screenshot, unreleased design, client asset, or photo containing location information, prefer a tool whose processing model matches your privacy requirement. OMNIVERT processes images locally in the browser, which means the conversion step does not require sending the image to a remote conversion service. That does not automatically erase metadata from the file or protect the image from every risk on the device, so treat metadata review and device security as separate checks.
A practical local workflow is:
- Make a copy of the original and keep it unchanged.
- Open the copy in the converter and select PNG.
- Apply resizing or orientation correction only if the use case requires it.
- Download the result with a descriptive filename, such as homepage-logo-transparent.png.
- Open the output and verify dimensions, transparency, color, and metadata before sharing.
For a small batch, use consistent naming and settings rather than converting each file according to memory. For example, an illustrative team policy might specify “export interface screenshots at their native capture dimensions, use PNG for transparency, and strip GPS metadata from shared photographs.” That is a starting policy for a particular workflow, not a universal rule.
Choosing between an online converter and installed software
An online browser tool is convenient when you need a quick one-off conversion, cannot install software, or want local processing for ordinary images. Installed software is a better fit when you need layers, batch automation, color-profile control, RAW development, recurring presets, or detailed metadata handling. A server-based service may be appropriate for large video workloads or organization-wide automation, but it should be evaluated separately for retention, access, and confidentiality.
Use PNG when the next step benefits from exact pixels or transparency. Keep JPEG when the next step benefits from compact photographic storage. If you are converting only because a form asks for “PNG,” satisfy the requirement, then verify the actual output instead of assuming the format change solved dimensions, background removal, or quality problems.
For a quick, no-install conversion of ordinary images, use OMNIVERT to convert JPG files to PNG locally in your browser. Keep the original, check the output’s dimensions and transparency, and choose PNG for a specific workflow need rather than as a blanket quality upgrade.
Authored with NotFair SEO